Home
/ How To Do Marble Nails With Regular Polish - One of the latest nail art trends right now is marbleizing.
How To Do Marble Nails With Regular Polish - One of the latest nail art trends right now is marbleizing.
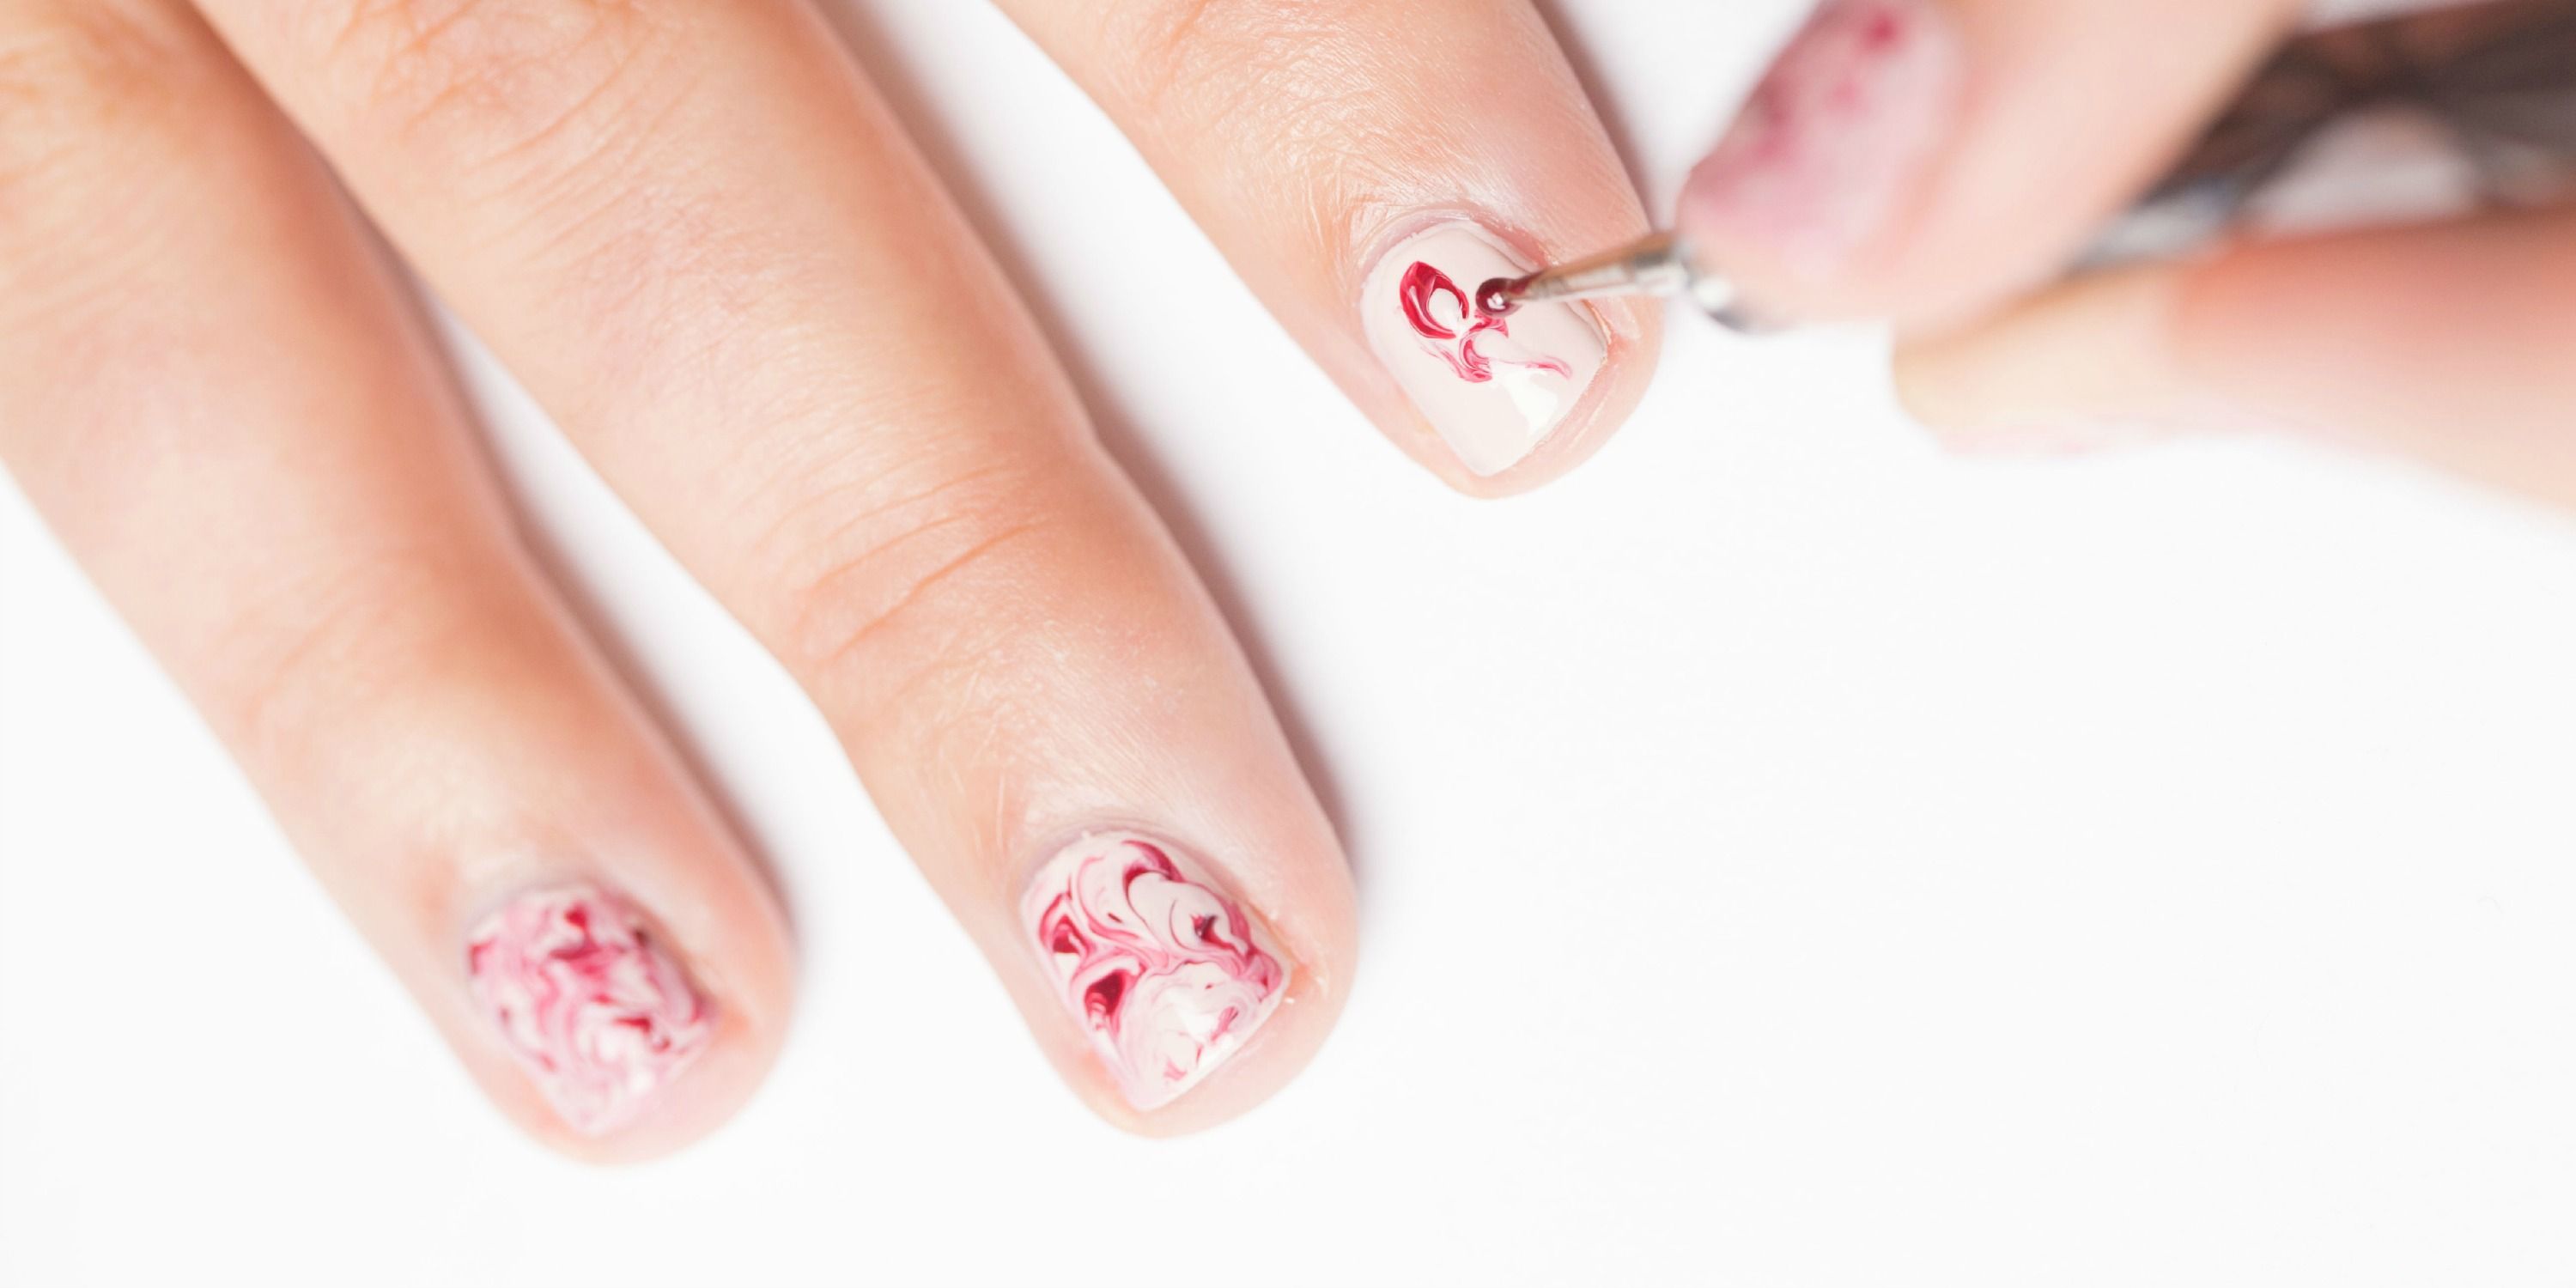
How To Do Marble Nails With Regular Polish - One of the latest nail art trends right now is marbleizing.. So easy and amazingly pretty! Repeat this process on each nail. Dip the detail brush into your detail nail polish color, then draw squiggly lines of this color sporadically onto nails, following any lines of texture as best as you can. Marble nails are on the edge of popularity these days but who knew that marble effect nail art tutorial could be one of those easy nail designs! Scrape across the plate using a scraper to get rid of the excessive nail polish.
Now comes the fun part. Hold it 1 cm above the centre of the waters edge. Repeat this process on each nail. Offer your customers marble dip powder nails, or is also compatible with gel, polish, and acrylic. Be sure to work fast as the polish will sink to the bottom and you don't want that.
Marble Nail Art Tutorial How To Create Marble Nails from hips.hearstapps.com All you need to do is fill up a container with some water and then drop the different polish colors in the center. Before you remove the nail from the water make sure you blow on the polish several. Which is why we're so excited about this tutorial: While it brings natural beauty to your home, it requires special care to prevent damage and stains, which occur easily due to marble's porous surface. Hold it 1 cm above the centre of the waters edge. Tap the funnel to get the eyeshadow to fall down into the bottle. The results are insanely cute you guys! Subscribe for more of my nail art videos!
Apply base coat or regular polish on your nails.
Repeat this process on each nail. Add two or three dolo™ colors to create instant marble. The results are insanely cute you guys! Once dry, the tips are buffed and nails are painted with a regular polish. While it brings natural beauty to your home, it requires special care to prevent damage and stains, which occur easily due to marble's porous surface. Do these next steps quickly to get the best results. Using regular old nail polish and some water, you can make beautiful marbling on ceramics like planters, mugs, vases, etc. Top coat adds a brilliant shine to your polished fingers. If you want to create fluid. Tap the funnel to get the eyeshadow to fall down into the bottle. Put the colors in the water, swirl them, dip your nails into the. Place nail into the water (nail down onto the design.) leave the nail in the water for several seconds. In today's nail art tutorial, we're going to be showing you how to create a realistic white stone marble nail art designs with regular nail polish.
This ombre nail technique works best with traditional nail polish. How did you dispose of the leftover nail polish…? as i put so little nail polish into the water, almost all of it went on the vase. Marble nails are on the edge of popularity these days but who knew that marble effect nail art tutorial could be one of those easy nail designs! The resin is then shaped as it dries and the form is rolled off to secure the acrylic to the nails. Gently tap the handle of the brush until the varnish drips into the water.
Diy Granite Marble Nails Using Regular Nail Polish Youtube from i.ytimg.com Do these next steps quickly to get the best results. When you are done with the arrangement of the supplies, you can start the designing. The resin is then shaped as it dries and the form is rolled off to secure the acrylic to the nails. Grab a toothpick, make some swirls and start dipping. Put some nail varnish on the brush. Subscribe for more of my nail art videos! Apply an even layer of top coat to each nail and wait for it to dry. Use as many colors as you like, or as few as you like.
Marble is a popular option for countertops, tabletops, flooring, and fireplace mantles.
You take a regular eight ounce cup of water and drop nail polish into the water to create and awesome pattern. Apply an even layer of top coat to each nail and wait for it to dry. Put the colors in the water, swirl them, dip your nails into the. Unscrew the cap and wipe the excess polish off the brush and set it to the side on a scrap of paper so it doesn't ruin anything. Using a flat brush, use a little prep and polish solution to blur the white lines of your marble. The results are insanely cute you guys! Marble nails are on the edge of popularity these days but who knew that marble effect nail art tutorial could be one of those easy nail designs! This will help keep the ombre contained and will minimize cleanup on the surrounding. Simple enough for a novice to do marble nails at home diy. The resin is then shaped as it dries and the form is rolled off to secure the acrylic to the nails. Tips for making this vase: Add some shine clean the detail brush using your nail polish remover, and wipe it off on a tissue until it's totally dry. Marble is a popular option for countertops, tabletops, flooring, and fireplace mantles.
Seriously, do this on a friday night when you just want to vegetate. Press the stamper onto the plate before it gets dry, and press evenly so that the design is picked in a good shape. Put some nail varnish on the brush. This will help keep the ombre contained and will minimize cleanup on the surrounding. Have a few backup bottles in different brands just in case, since not all polish works as marbling.
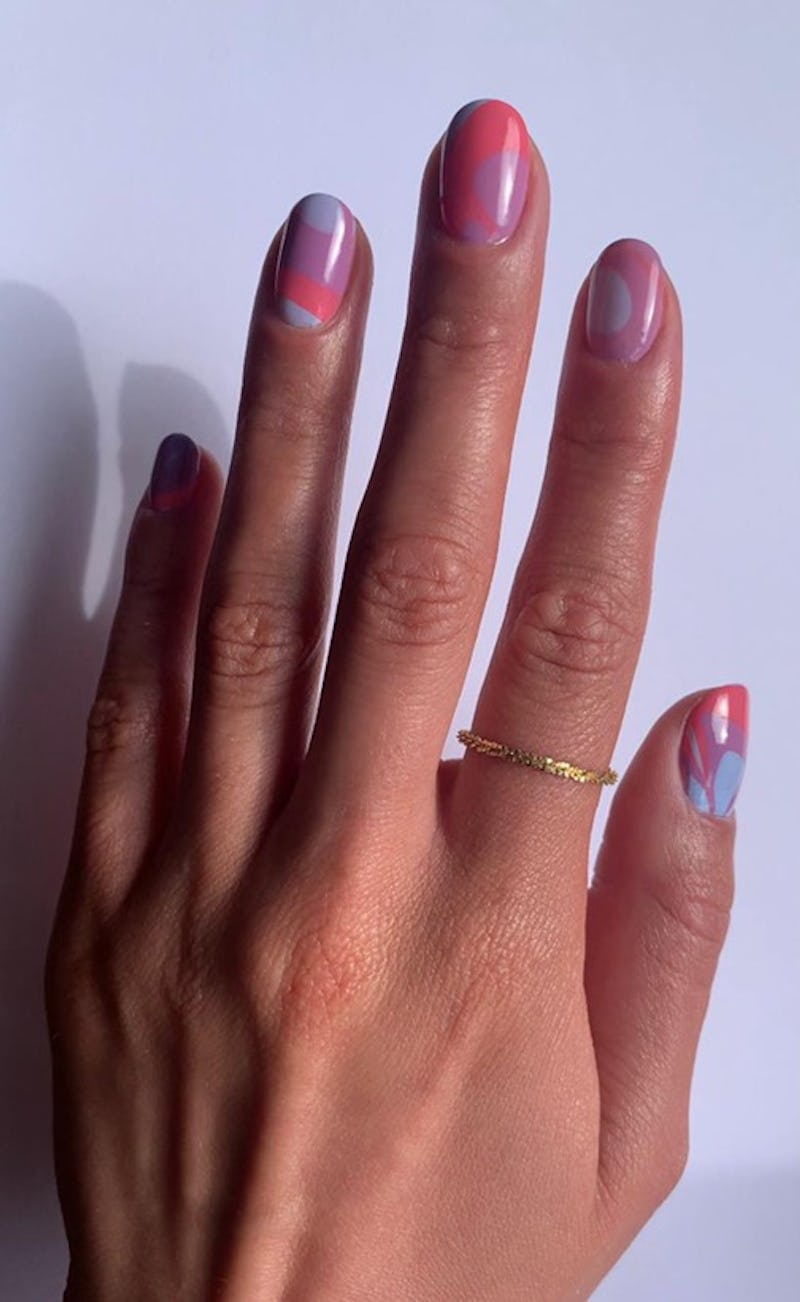
How To Do The Water Marble Nails Look At Home from imgix.bustle.com Water marble nail art is also a variant of swirl nail art. Get ready to marble everything in your life, because that's what you're going to want to do. You take a regular eight ounce cup of water and drop nail polish into the water to create and awesome pattern. Mix blue and white nail polish one on top of the other, swirl to create the marble effect, and apply it on your nail. Rose quartz nail art tutorial regular nail polishhi friends, welcome back! Acetone or nail polish remover; Using a flat brush, use a little prep and polish solution to blur the white lines of your marble. Dip the detail brush into your detail nail polish color, then draw squiggly lines of this color sporadically onto nails, following any lines of texture as best as you can.
If you want to create fluid.
Hold it 1 cm above the centre of the waters edge. You can do swirl nail art by following the steps mentioned below. Keep wiggling and smudging until you're happy with the design and cure! Apply a comparatively thick and opaque nail polish to the target image within a stamping plate. Now comes the fun part. Apply a white base coat. Unscrew the cap and wipe the excess polish off the brush and set it to the side on a scrap of paper so it doesn't ruin anything. Once your nails are completely dry, apply a thin layer of top coat to each nail. Apply an even layer of top coat to each nail and wait for it to dry. Before beginning, cut a thin strip of the makeup sponge. Use as many colors as you like, or as few as you like. I started these granite nails with white nail polish and a top coat. Apply the special dolo™ base.
Once dry, the tips are buffed and nails are painted with a regular polish how to do marble nails. Apply the special dolo™ base.
